Fabsuite 16.2r04 is now compatible with ProNest 2017, and tested to version 12.0.5.6305.
To make the most of this integration and it's enhancements, download an updated Custom Report here. Place the downloaded file in your ProNest Custom Reports folder . (Often typically C:\ProgramData\Hypertherm CAM\ProNest 2017\Reports (FastReport)\Custom Reports ). Overwrite the existing report of the same name.
...
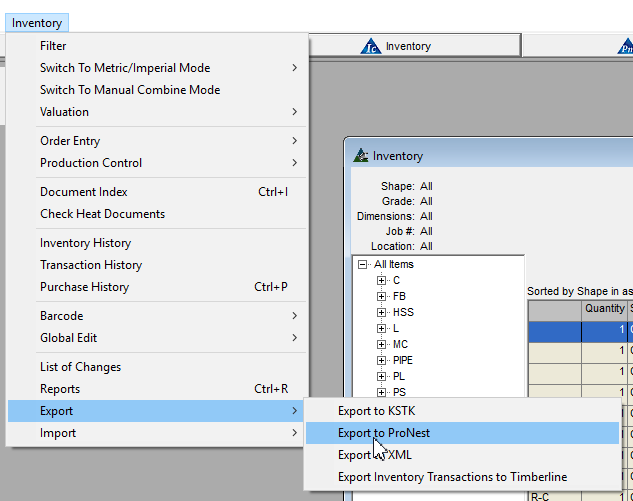
- Run ProNest Inventory Sync from FabSuite, to generate a file to use in configuring.

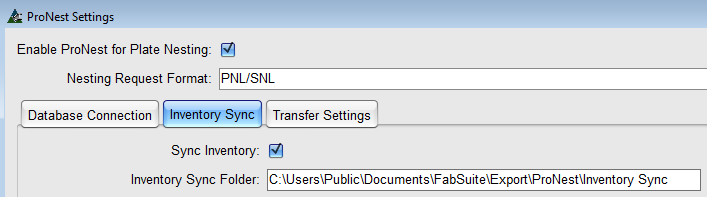
- Take note of your Inventory Sync Folder in your ProNest Settings within FabSuite (Maintenance→Integration Settings→ProNest )

- Open Data Sync Manager
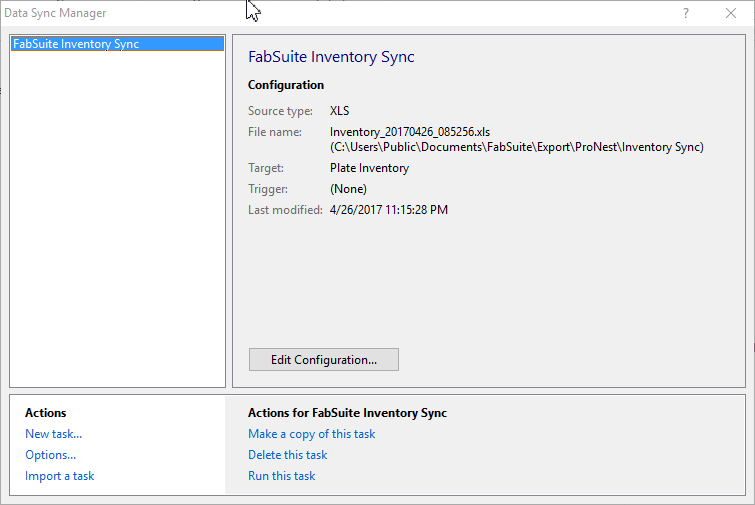

Double-click "FabSuite Inventory Sync" (or Highlight it then click "Edit Configuration...") - On the "General" tab, select the File that FabSuite just exported.

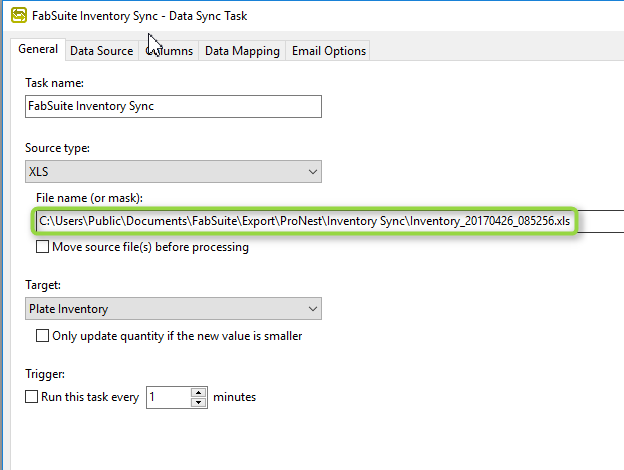
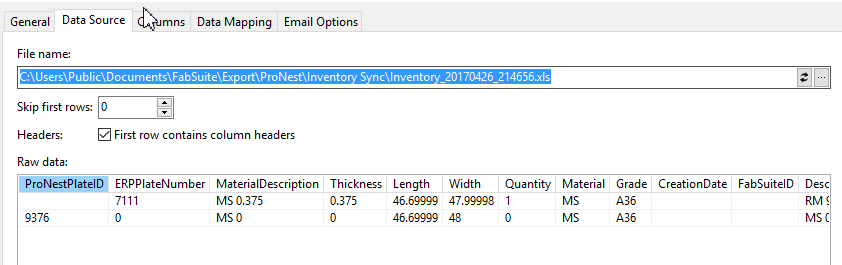
- Select the same file on the Data Source Tab:

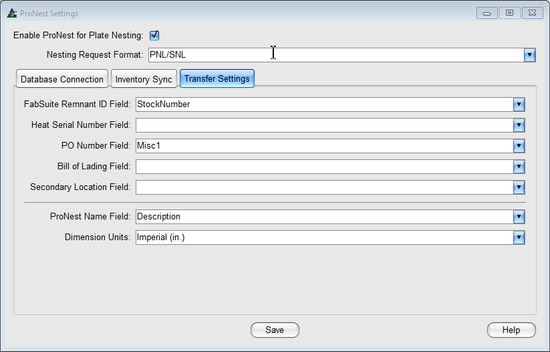
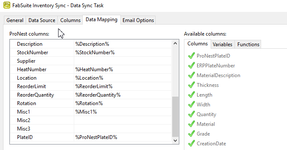
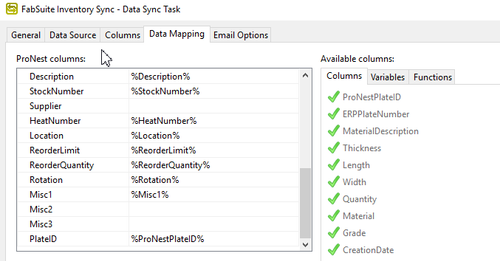
- On the Data Mapping tab, check Misc1, Misc2, Misc3, StockNumber and Supplier to make sure they match your FabSuite field mapping. Any that are used in FabSuite should be mapped in Data Sync, and those that are not used should not be mapped. In this example, I'm using StockNumber and Misc1. So in ProNest Data Sync, StockNumber and Misc1 are mapped, but Supplier, Misc2 and Misc3 are blank.


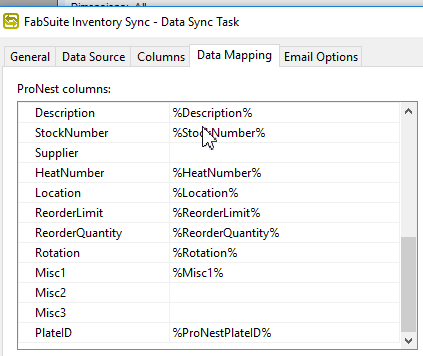
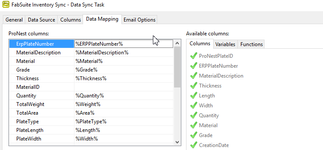
- Finally, make sure that BOTH ErpPlateNumber AND PlateID fields are mapped on the Data Mapping tab in Data sync. ErpPlateNumber is the top entry, and PlateID is the bottom.

- Now that your Data Sync is configured, run ProNest Data Sync from FabSuite Inventory again.
- Set up Inventory Sync to run automatically or through an Automated Event if desired.
...